
Shoot Pro Desktop Teardown Videos in 1 Hour
Overhead + detail + side angle — the exact 3-camera setup used by iFixit and JerryRigEverything, starting from $200
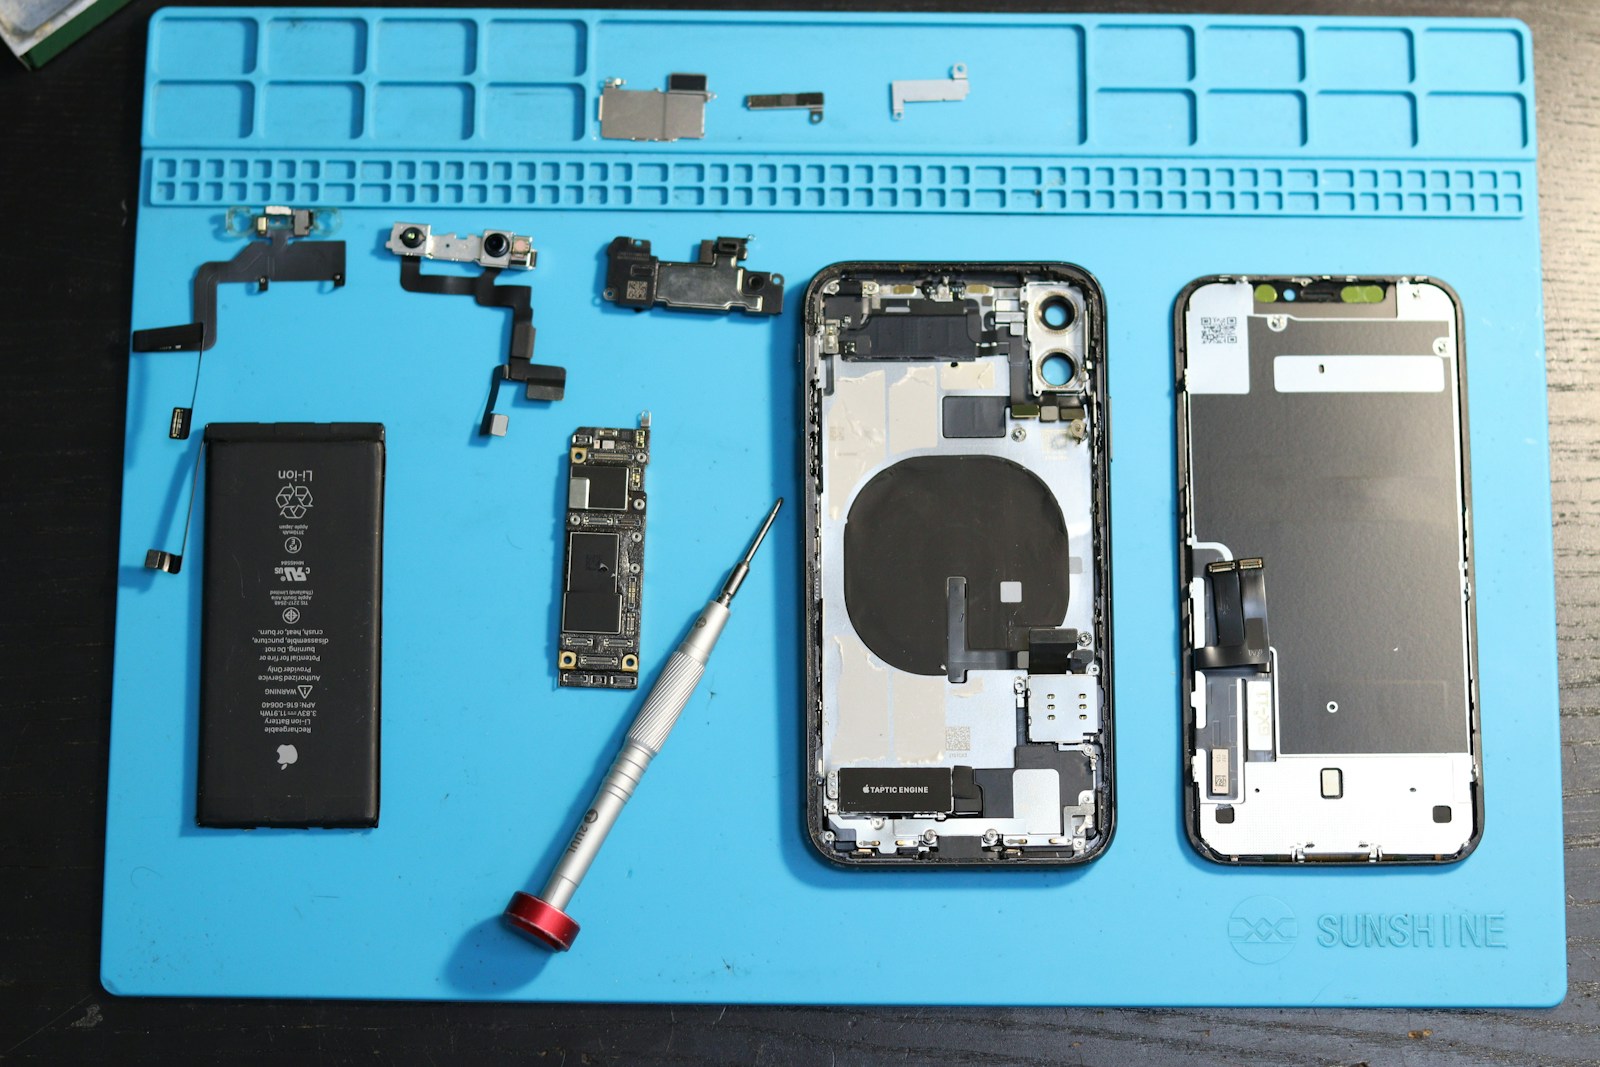
In one hour you'll build a repeatable desktop teardown filming rig: an overhead master shot, a detail insert cam, and an optional presenter angle — with proper soft lighting and clean audio. Output quality matches iFixit / JerryRigEverything / Louis Rossmann.
🎯 Outcome
- ✅ A rock-solid overhead rig (45-60cm above surface, covering a 60×40cm workspace)
- ✅ A detail insert shot at 45° for hand close-ups (perfect for cutaways in edit)
- ✅ Two-point soft lighting (no blown-out reflections on metal parts)
- ✅ Independent audio (crisp screw drops and clip clicks)
- ✅ A 60-second test teardown validating the full workflow
⏱️ Time Blocks
📋 Prerequisites
- Main camera: Phone (iPhone 13+ / flagship Android) or mirrorless (Sony ZV-E10 II, Fujifilm X-S20)
- Overhead arm: Ulanzi VL-160 / Godox LT80 / Manfrotto 244 magic arm (critical, don't skimp)
- Lighting: Two LED panels (Godox LEDP120 / Ulanzi VL-49 / Aputure Amaran 60d)
- Audio: Lav mic (DJI Mic Mini / Rode Wireless GO II / Audio-Technica AT2020 USB)
- Extras: Dark cloth mat, mini tripod (for detail cam), magnetic parts tray
- A device to disassemble (old phone, keyboard, router — anything works)
Budget tiers:
- Entry ($200) = phone + Ulanzi arm + 2 lights + lav mic
- Mid-tier ($1200) = ZV-E10 II + magic arm + 2× Amaran 60d + Rode NTG
Step 1: Clear Desk + Dark Mat (0-10 min)
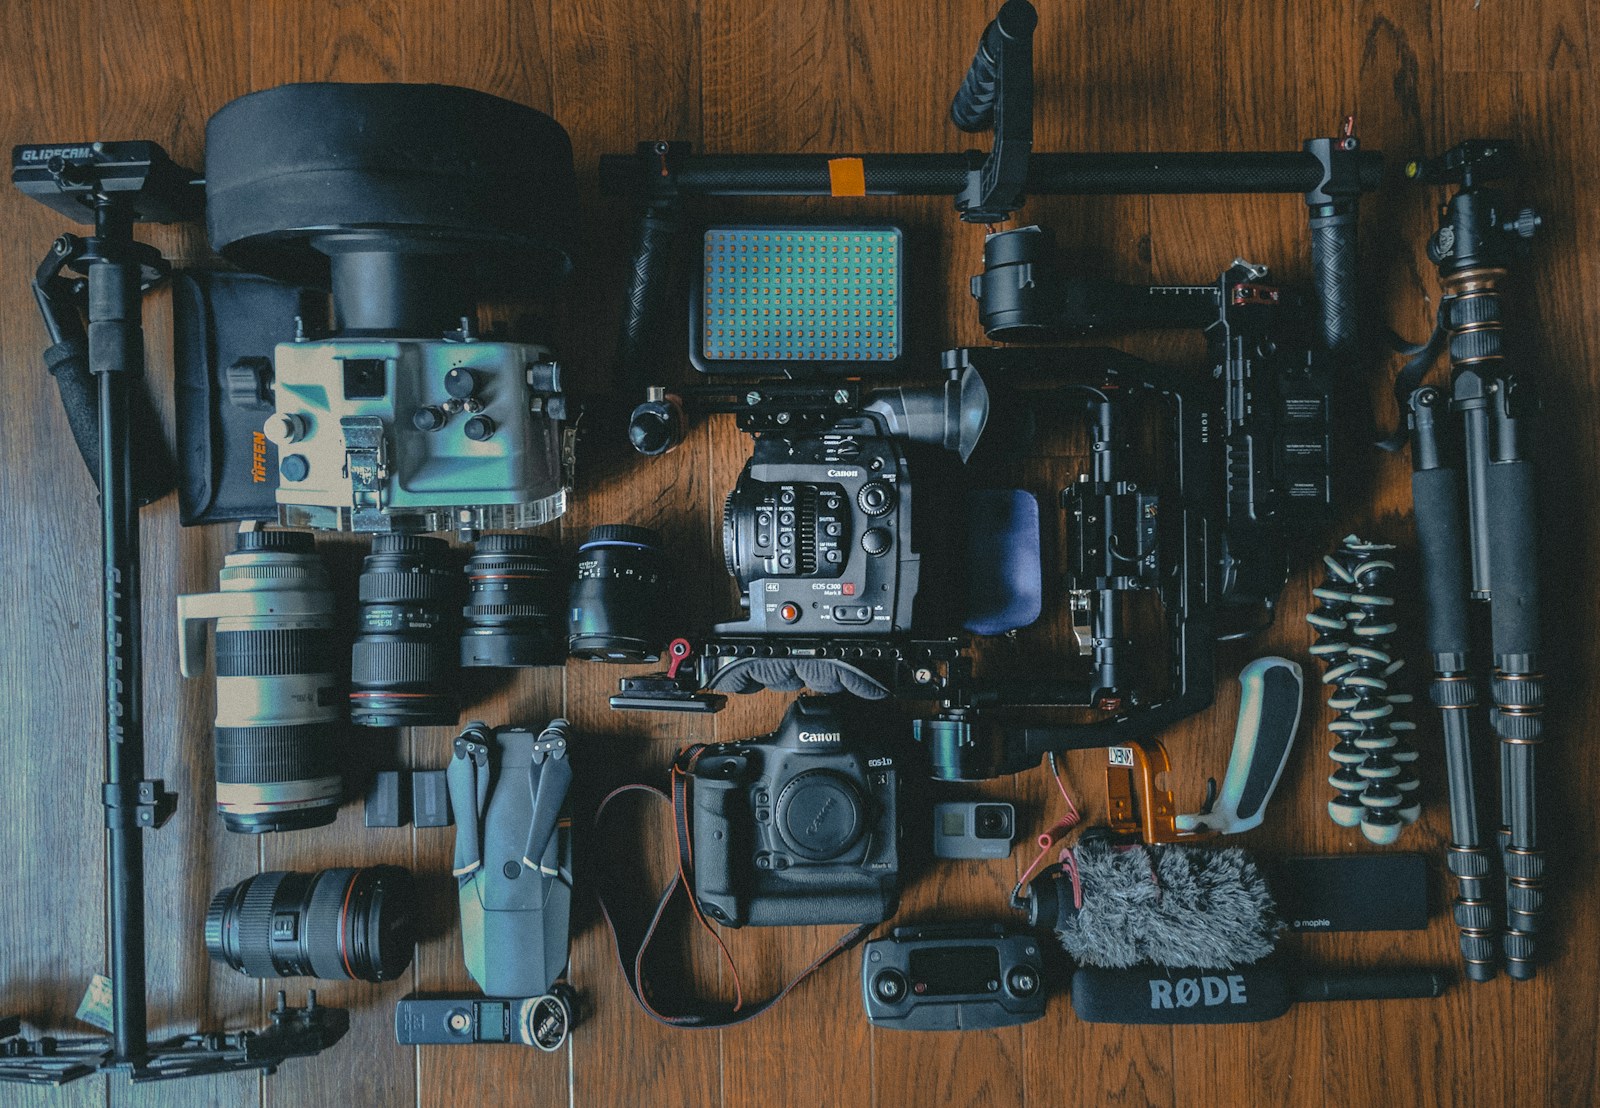
Reflections and clutter are the two killers of teardown video quality. Fix them first.
Cleaning principles:
- Remove everything not needed for the shoot (cups, sticky notes, papers)
- Avoid white/glossy surfaces — they blow out metal reflections
- Lay down a dark grey or black cloth mat (60×40cm minimum) — same as iFixit uses
- If screws are involved, grab a magnetic parts tray ($5-15 from Wowstick or iFixit)
Reserve lighting space: Leave 30cm clear on each side of the desk for the light stands. Decide which corner the overhead arm will clamp to.
Avoid:
- ❌ Glass desks: create two giant reflection hotspots
- ❌ Wood grain desks: too visually busy, steals attention
- ❌ Bright white desks: overexposed metal + white balance nightmare
Checkpoint
Is your desk surface darker than the device you're taking apart? Do parts have clear outlines when placed on it?
Step 2: Overhead Rig + Framing (10-25 min)
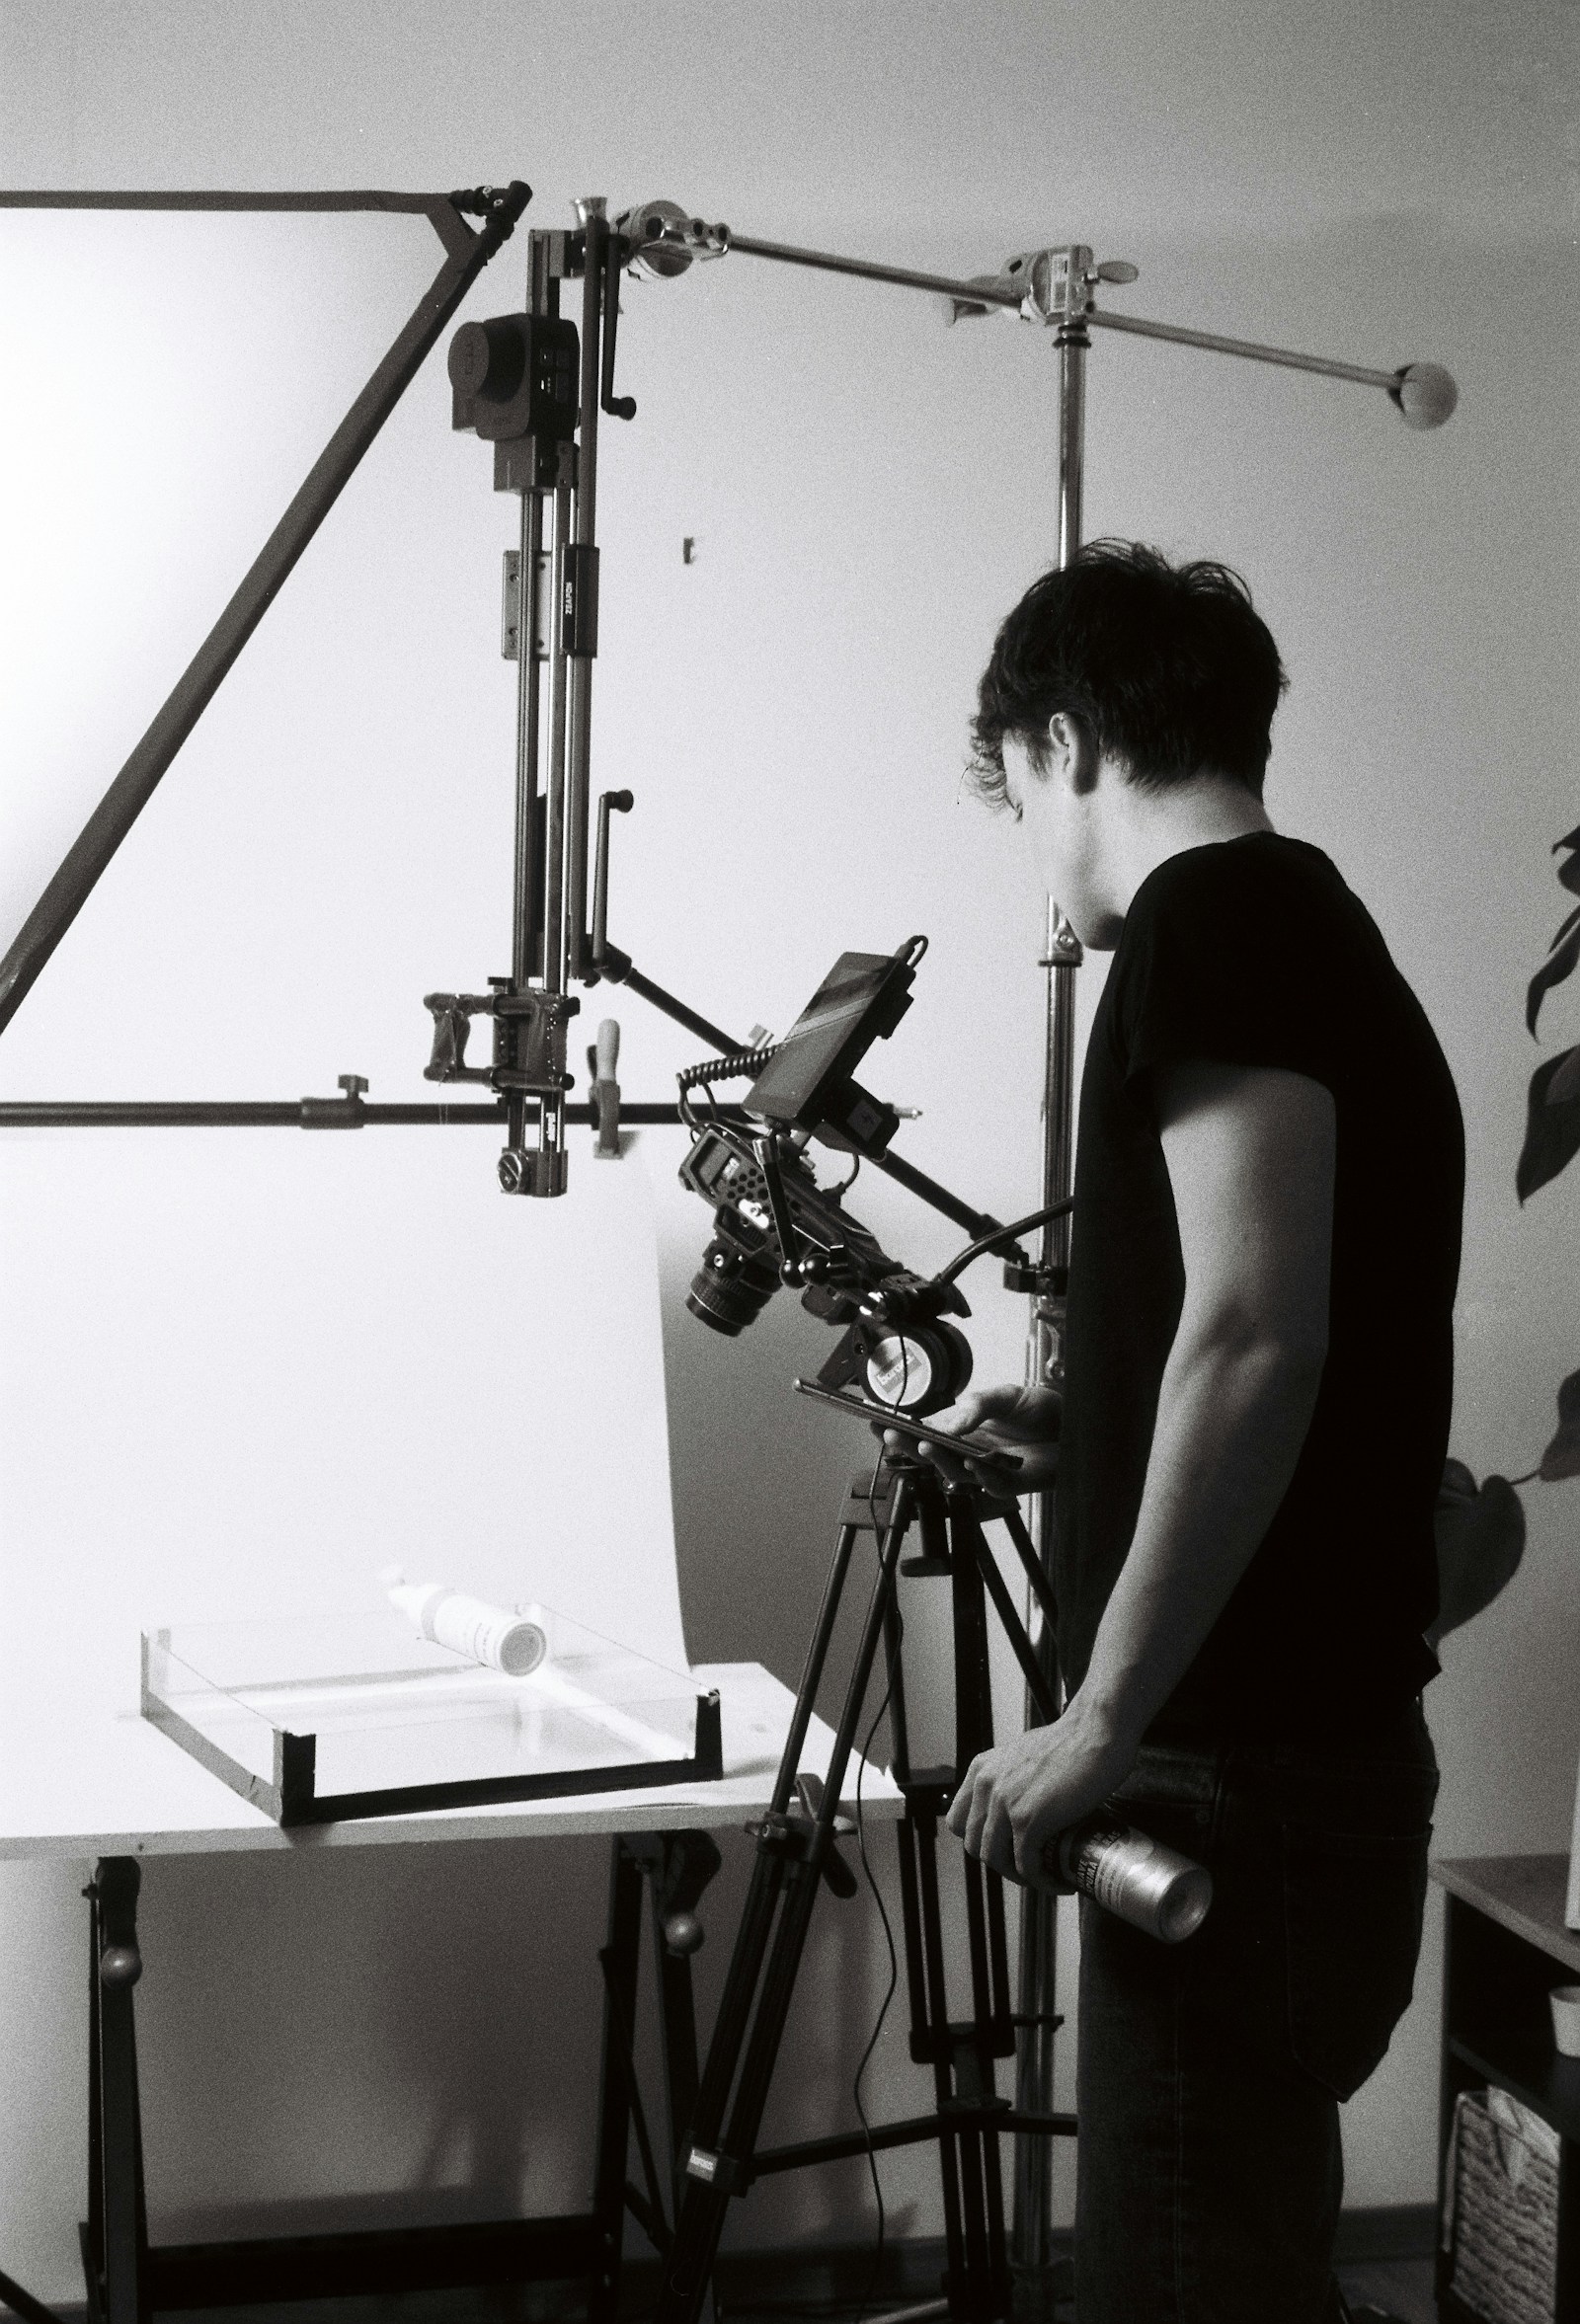
The overhead is the hero shot — viewers spend 80% of the video looking at it.
Height setup:
- Camera lens 45-60cm above the surface (45cm for phones/PCBs, 60cm+ for keyboards/PCs)
- Lens must be perfectly vertical (use a bubble level app, or check the four corners are equidistant)
- Clamp the arm firmly; wiggle for 10 seconds to confirm no drift
Composition rules:
- Center the device, leave 15-20% breathing room (subtitles/annotations will need edge space)
- Hands enter from the bottom or sides, never directly blocking the device
- Key actions (unscrewing, prying) happen in the exact center of frame
Camera settings:
Resolution: 4K30 or 1080p60
Frame rate: 30fps (standard) / 60fps (for slow-mo cutaways)
White balance: Manual 5600K (match your LED panels)
Focus: Manual, locked (autofocus will hunt when hands move)
iPhone users: Use a pro camera app (Halide, Blackmagic Camera) to lock focus and exposure. The stock app will drift.
Checkpoint
Place your hand in the workspace center — is your hand in the lower center of frame? Is the full device visible?
Step 3: Two-Point Soft Lighting (25-35 min)
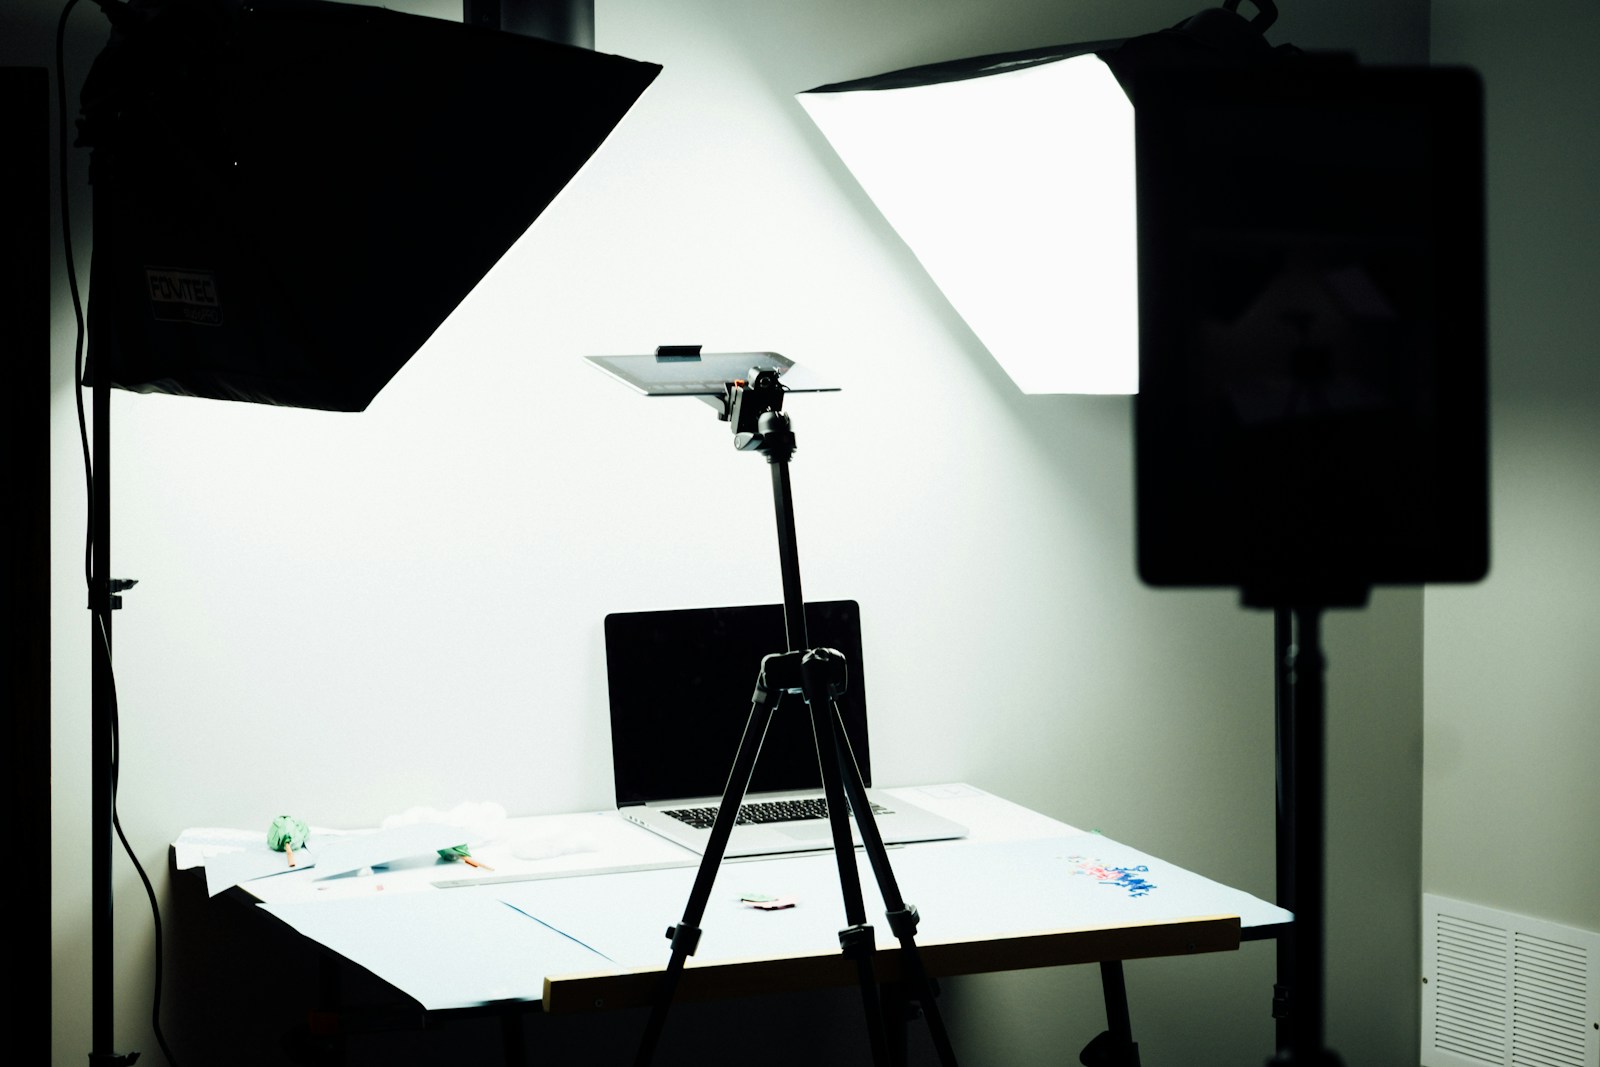
Metal reflections are the hardest problem in teardown videography. Hard light = disaster. Soft light = salvation.
45° two-light setup (industry standard):
                Overhead Camera
                       │
                       ▼
    ╔═══════╗       ┌─────┐       ╔═══════╗
    ║ Key A ║ ────► │ Part│ ◄──── ║ Fill B║
    ║ 45°   ║       └─────┘       ║ 45°   ║
    ╚═══════╝                     ╚═══════╝
     Key light                     Fill light
     100% power                    60% power
Critical settings:
- Both lights must have diffusion (softbox, umbrella, or diffusion cloth) — bare LED = dead spots
- Key light (either side) at 100%, fill on the opposite side at 60% to lift shadows
- Lights at 45° downward angle from horizontal, high enough to stay out of frame
- Color temperature locked at 5600K daylight — both lights must match (mixed temps = half yellow half blue)
No softbox? Emergency options:
- Tape a sheet of white A4 paper in front of each light (DIY diffusion)
- Bounce light off a white ceiling (only works if your ceiling is actually white)
- Shoot near a window and use a single LED for fill
Verification test: Place a coin or screw in frame center. If you see sharp bright spots or hard shadows, your light is still too hard. Ideal: metal surfaces show smooth gradients, not glare.
Checkpoint
Do metal parts show no obvious hotspots? Are shadows soft-edged rather than sharp?
Step 4: Detail Cam + Independent Audio (35-45 min)
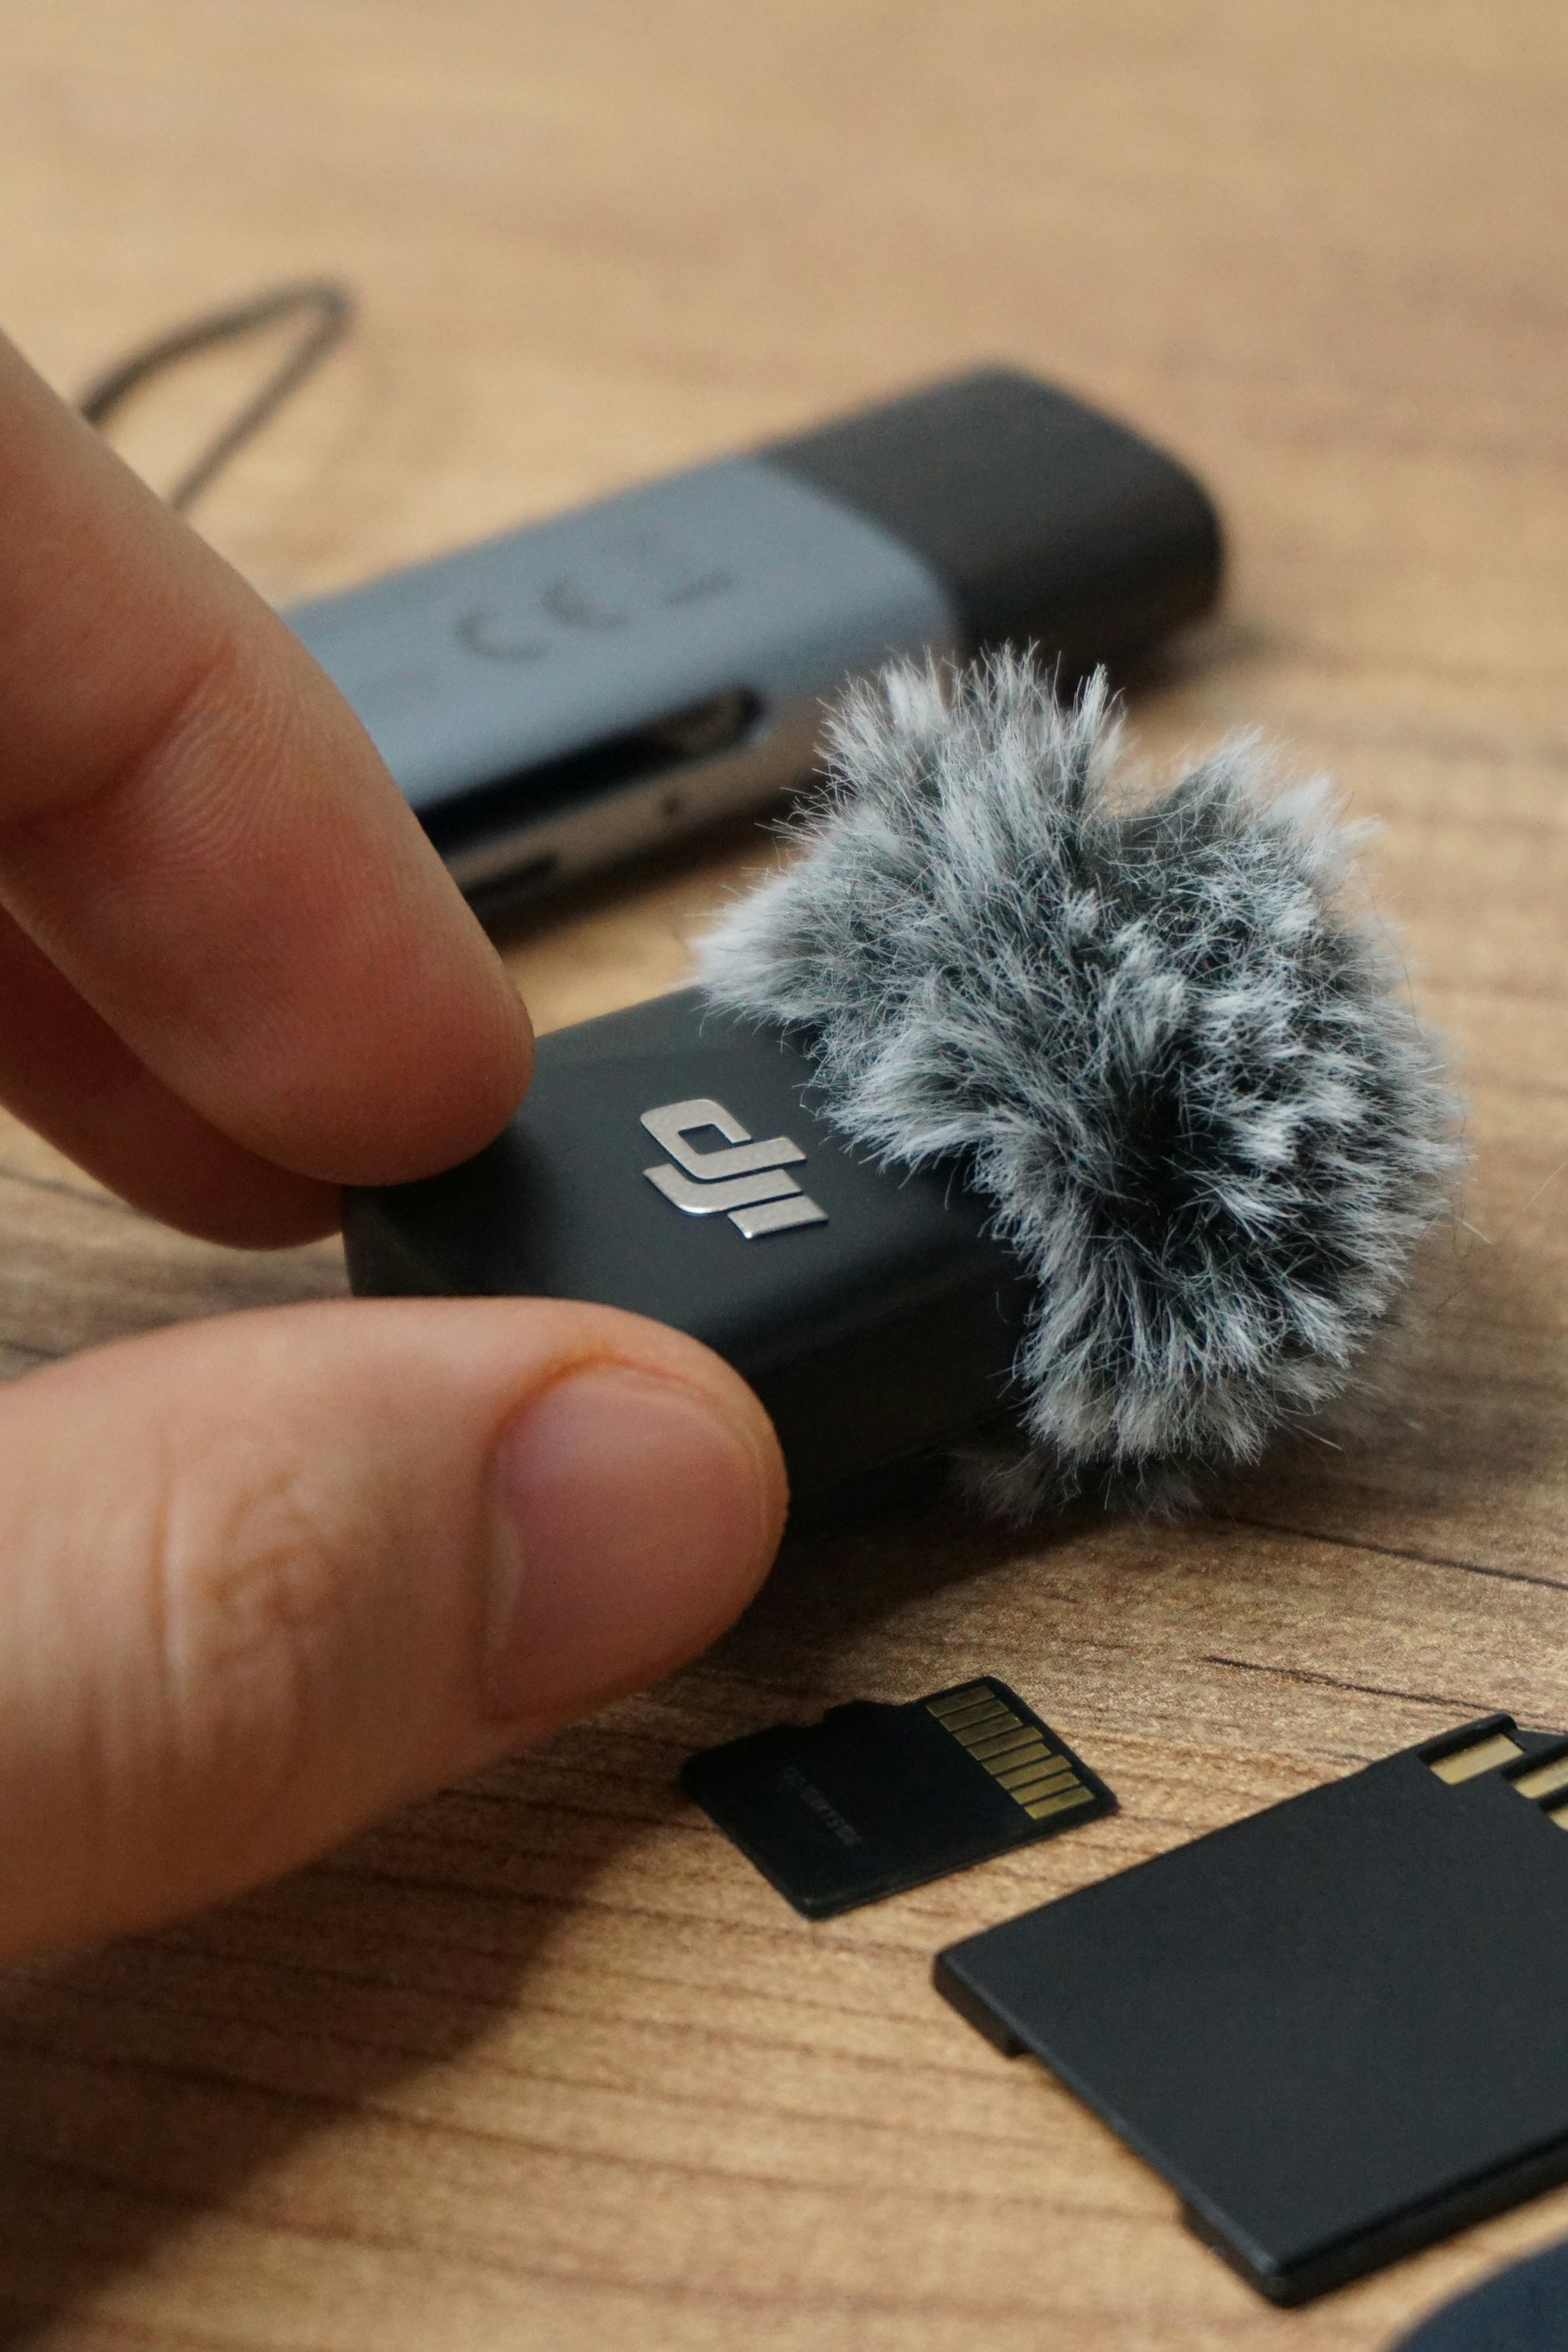
The second camera captures the details. In editing, cutaways to this angle make pacing sing.
Detail cam setup:
- Use a mini tripod (or Gorillapod) placed on the desk itself
- 20-30cm from the device at a 30-45° angle
- Phone or secondary camera at 1080p60 or 4K30
- Focus locked on where hands will operate (e.g. the screw head)
What this angle captures:
- Screws dropping into the parts tray
- Hand movements when prying clips
- Lifting out ribbon cables, screens, batteries — the "reveal" moments
- The final reassembly click
Independent audio setup:
⚠️ Camera mics are essentially useless — too far, too noisy, teardown sounds get muddled. A separate mic is non-negotiable.
Option A (voiceover-heavy): Lav mic clipped to chest, 20cm from mouth
DJI Mic Mini    — $100, wireless, one-button noise reduction
Rode Wireless GO II — $250, dual channels, pro-grade
Option B (teardown sounds first): Desktop shotgun aimed at the work area
Audio-Technica AT2020 USB  — $100, plug-and-play to laptop
Rode VideoMic NTG          — $200, on-camera shotgun
Option C (budget hack): Use a second phone as a "recorder" within 30cm of the device. Sync in post.
Sync trick: Clap once at the start of every take (a manual clapperboard). In your editor, align the sharp "clap" waveform across all tracks.
Checkpoint
Does the detail cam capture your fingertips clearly? Can you clearly hear screws hitting the tray in the independent audio?
Step 5: Shoot 60-Second Test (45-55 min)
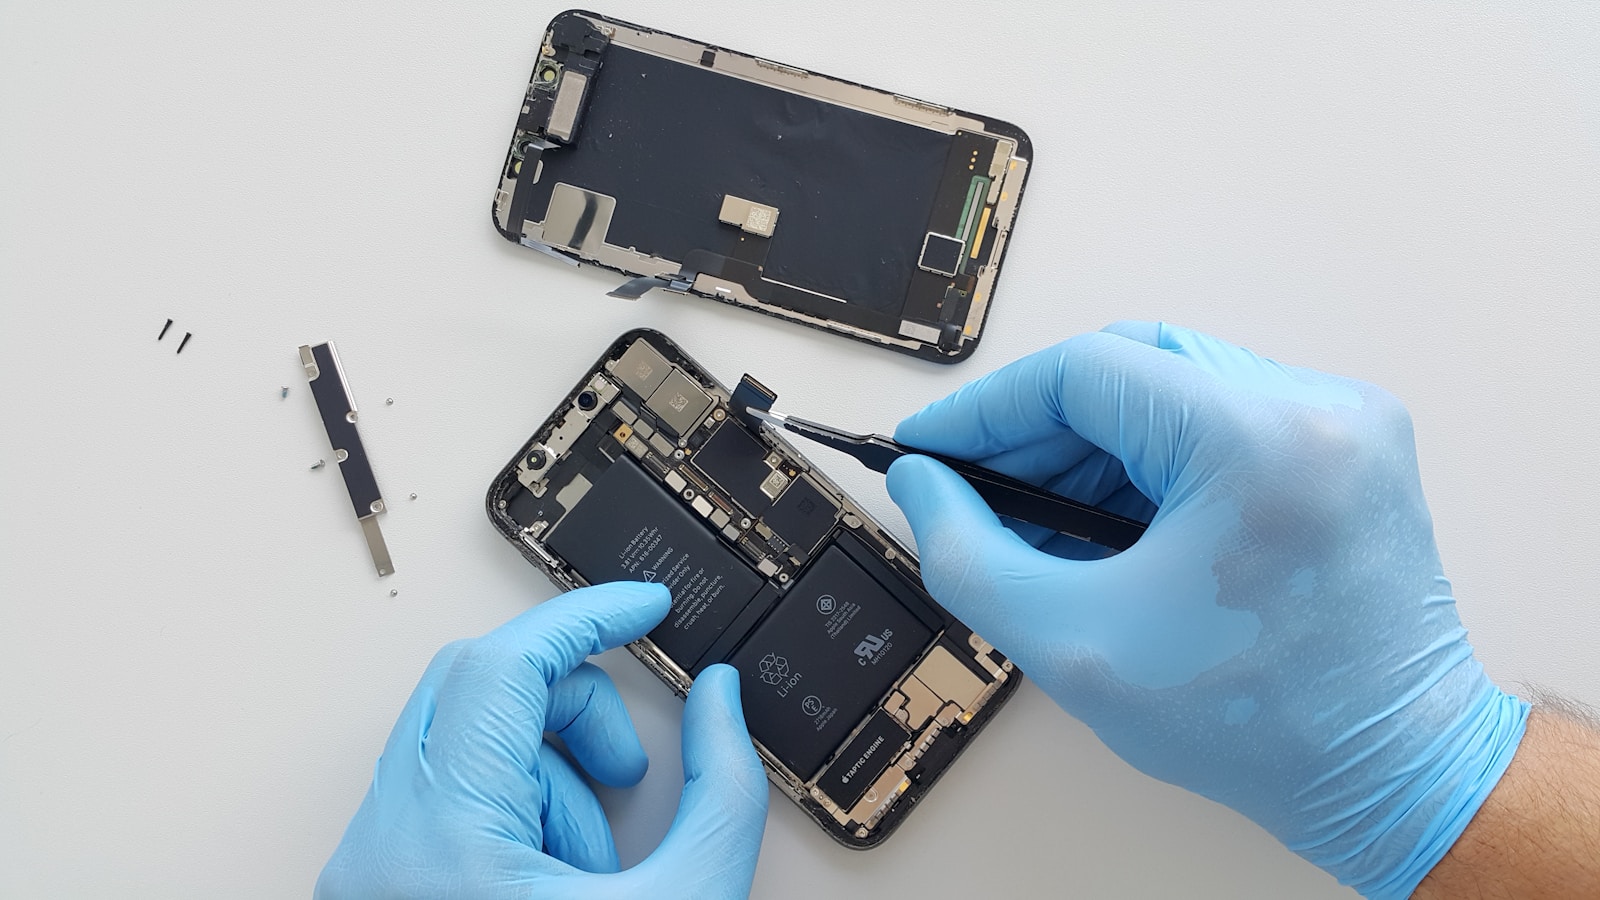
Validate the full rig with something simple — pop a phone case, swap a keycap, replace a fan.
Shot checklist:
□ Overhead cam REC
□ Detail cam REC
□ Independent mic REC
□ Clap for sync
□ State the goal (1 sentence)
□ Show initial state (3-second static shot)
□ Execute the disassembly (30-40 seconds)
□ Show final state (3-second static shot)
□ Clap to end
Action principles while shooting:
- Slow down 30% from your natural pace — viewers need time to see
- Pause 1 second after each key action (remove screw → pause → grab next)
- Stabilize hands — rest elbows on the desk
- Look at your hands, not the camera (unless doing pieces to camera)
Import to DaVinci Resolve / Final Cut / CapCut:
- Drop all three tracks (overhead + detail + audio) onto the timeline
- Align using the clap waveform
- Use overhead as the primary; cut to detail cam for 2-4 seconds on key moments
- Mute camera-internal audio, use the independent mic track
Checkpoint
Play back the test — can a viewer understand what you're disassembling and how you're doing it?
Step 6: Save Your Rig Preset (55-60 min)
Lock down this setup so next time you're rolling in 5 minutes, not 60.
Preset checklist:
- 📏 Mark the overhead arm height with tape on the pole
- 📐 Mark the light stand positions with tape or floor markers
- 🎛 Screenshot your camera settings (ISO / shutter / WB)
- 📸 Take a wide shot of the whole lighting setup — save it to a "Rig Presets" album
- 📝 Note focal length, aperture, focus distance in a memo
Next-time shoot workflow:
1. Position lights using the reference photo    → 30 sec
2. Extend arm to marked height                  → 30 sec
3. Load camera settings from screenshot         → 1 min
4. Mic on, sync-check                           → 1 min
5. Clap and roll                                → instant flow
🎉 In one hour, you've built the same rig used by iFixit, hardware YouTubers, and repair channels. The rest is teardown volume and edit speed.
🎁 Bonus
- Add a third angle: 45° side-view for the presenter or wide establishing shots
- Macro attachment: Clip-on macro lens ($5-20) for PCB traces and micro components
- Underlit glass: Backlit glass for transparent devices (watches, camera lenses) — pro trick
- Multi-track audio: Record lav + shotgun simultaneously, pick the best in post
- Green screen: Small chroma sheet behind the workspace for "floating part" reveals
📚 Next Steps
🔗 Resources
- iFixit Repair Videos - The gold standard for overhead teardowns
- JerryRigEverything - Durability tests and phone teardowns
- Louis Rossmann - Board-level repair filming reference
- Linus Tech Tips - How We Film - Production breakdowns from a top channel
- Aputure Lighting Academy - Free professional lighting courses
- Ulanzi Store - One-stop shop for desktop rigs and accessories
Tutorial photography courtesy of photographers on Unsplash, used under the Unsplash License.